

| Oberheim Programmer 4 Voce Oberheim Main Page |
 |
Polyphonic Synthesizer Programmer for a 1 to 8 voice Oberheim SEM System(Note these pictures are high quality 300 dpi) These pictures are of a repair and refurbishing of a programmer unit that goes in my 4 voice. |
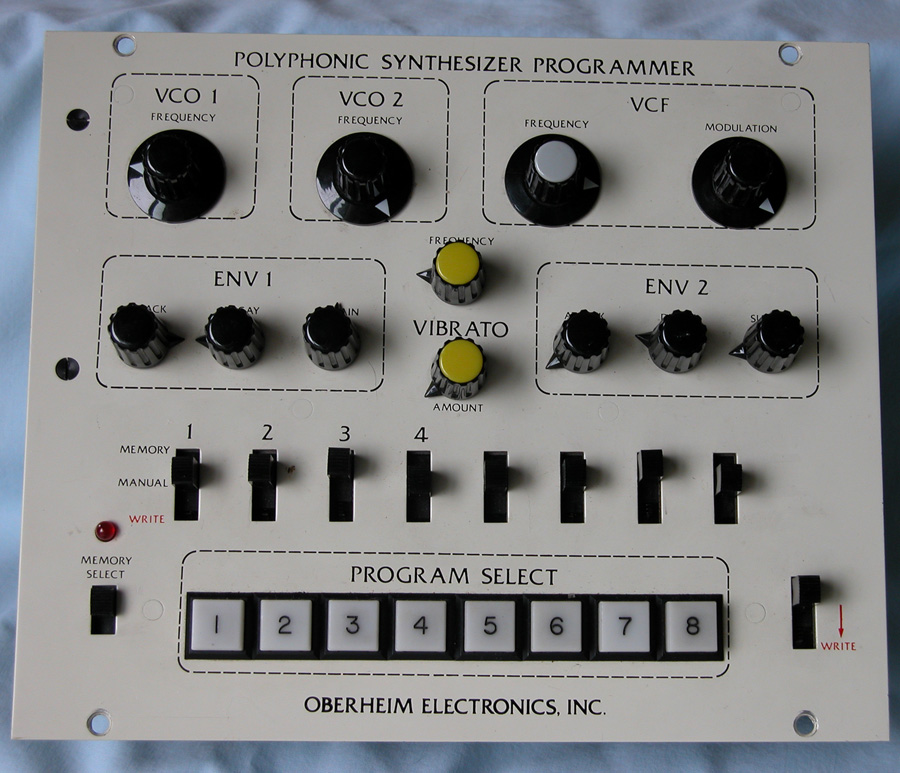 |
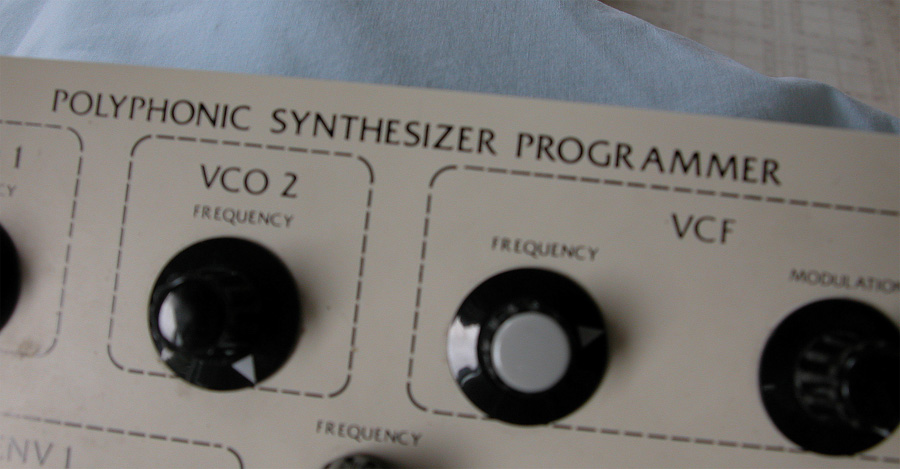
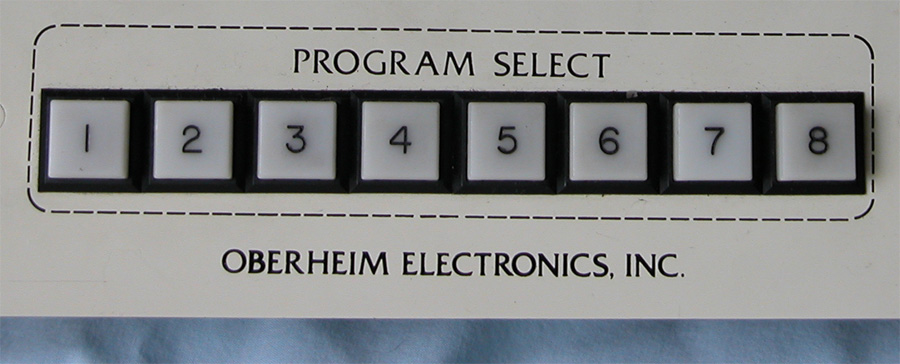
| Front Panel. The programmer remembered several of the SEM settings for each SEM. This one is for a 4 voice Oberheim |
 |
| Back of unit removed from a 4 voice Oberheim synthesizer |
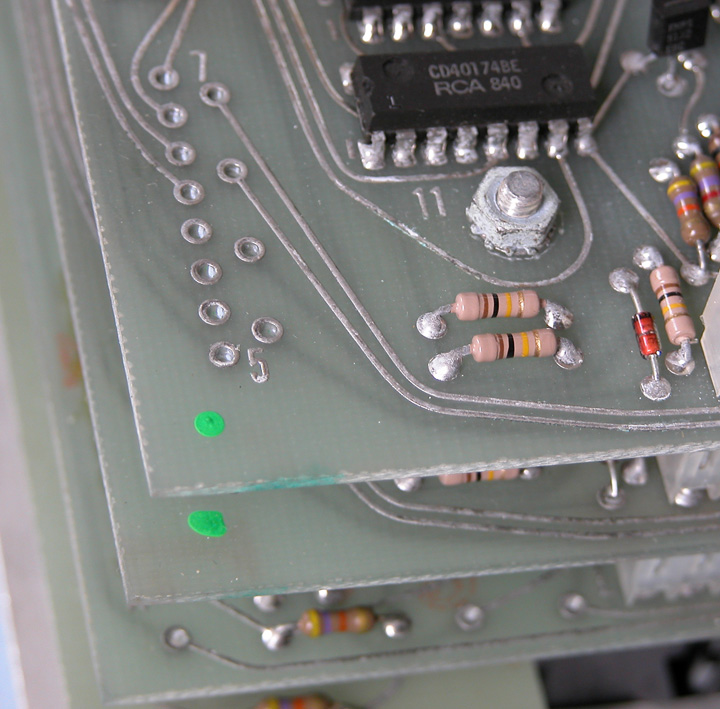 |
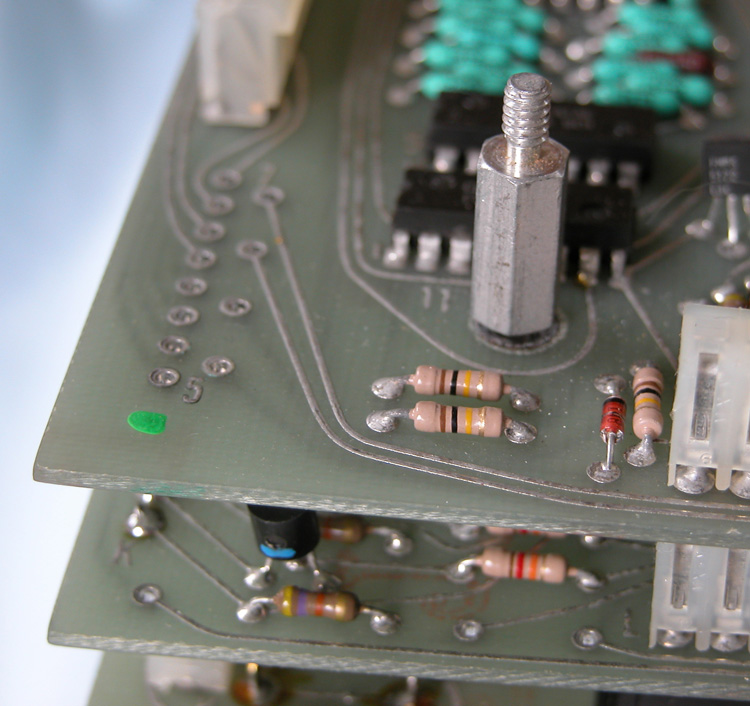
Close up of board showing nuts right next to IC chips. Be very careful if you attempt to unplug these boards. If not skilled in assembly DO NOT ATTEMPT The pins and connectors all need to line up, and there are lots of pins and connectors between each board. The battery for the programmer is unfortunately on the backside of the third board down. If you need to replace the battery it is a slow and difficult job, show these pictures to someone with some experience and step aside. The unit in these pictures goes with my 4 voice and was not working when I got it so I am unassembling and looking for problems with the pins or connectors. |
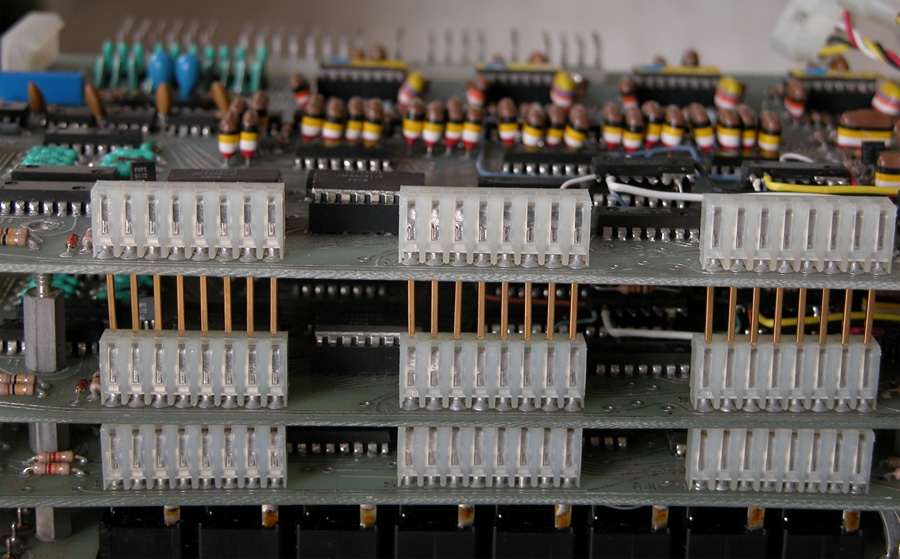 |
Each of the 4 levels of boards connects with connectors as shown above. You need to gently pry each one open a quarter inch or so all the way around Then pry them a little more, then a little more all the way around each level. Then you can separate. Otherwise you will bend or break a pin. Very Bad. Now you have a repair job...not good Again very tricky to pull all these boards apart. To get to the battery you need to remove all 4 levels of boards one at a time. |
 |
| Each level has 4 of these holding down and supporting each level. |
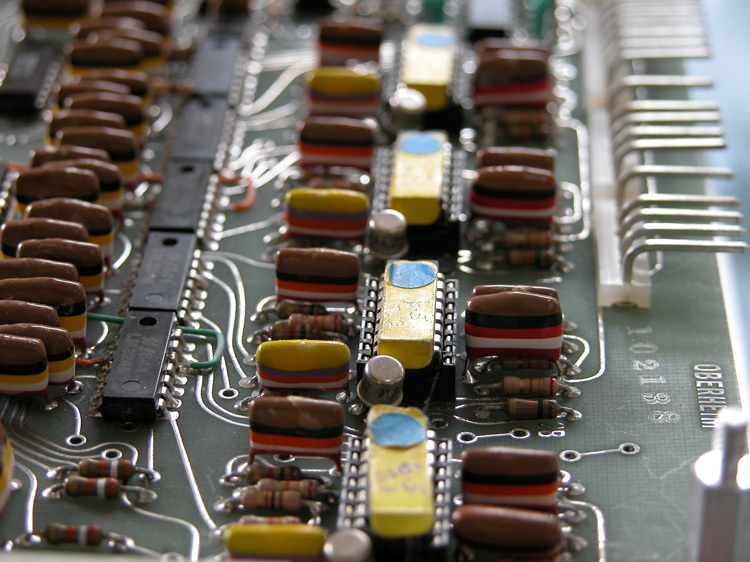 |
| Old school, color coded capacitors |
 |
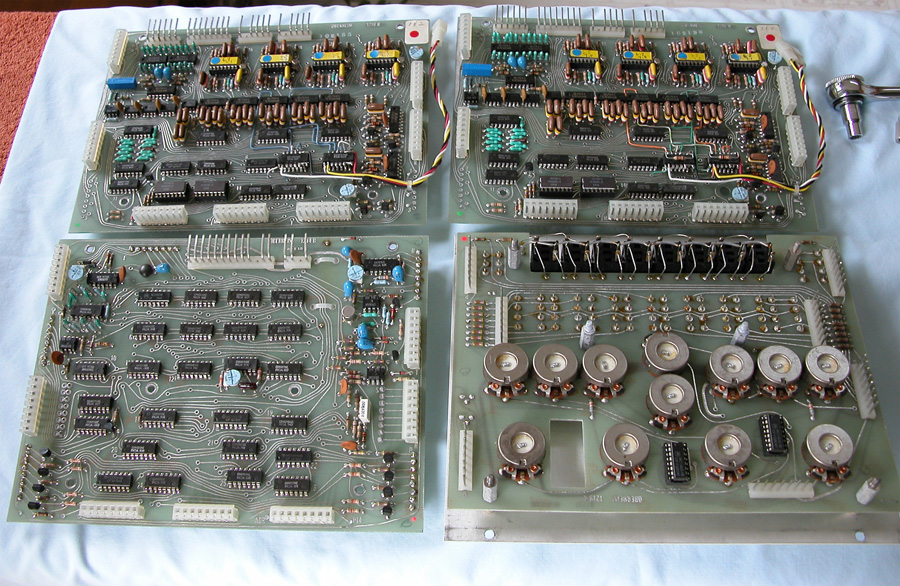 |
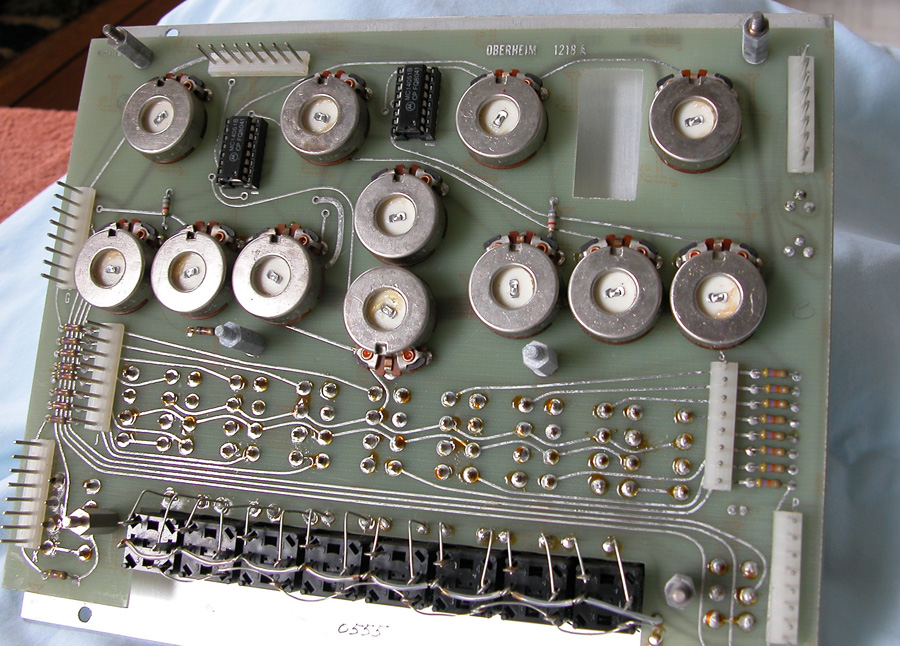
| Board layers disassembled. The 4 boards that make up the programmer. Battery is behind board in bottom left of picture. Near top right of that board and is held in place with white tie wraps. Looks like is has been replaced at least once. |
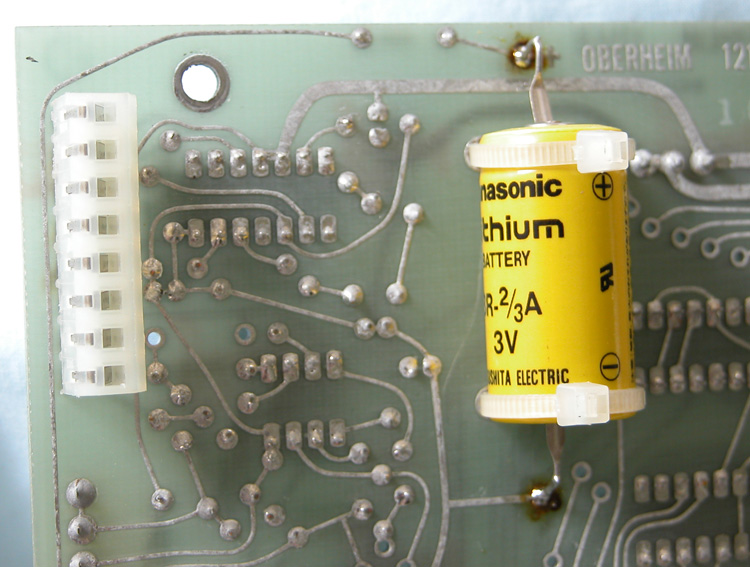 |
| Finally, on the back side of the 3rd board in the upper left corner.....is the battery |
 |
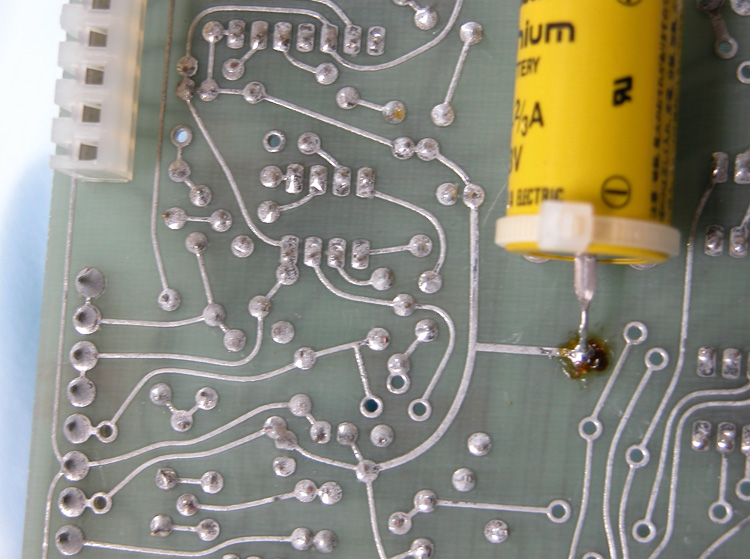
| Positive lead is near top left of board. Marked with a + on board. I do not know if this is the correct battery. I would use the same type that you find in the programmer. There may have been changes and this one had been modified for several additional features. Battery is still charged in these pictures, so not part of this units problems. |
 |
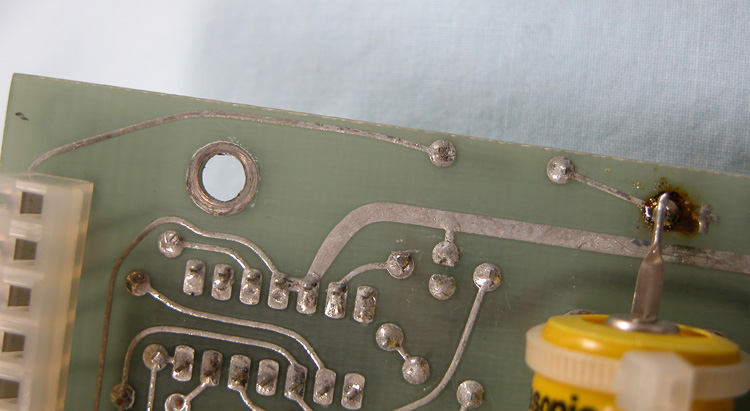
| Negative side of the battery |
 |
Before assembly I cleaned the pots with a very small amount of high quality contact cleaner and rotated each one. A lot of work to get to the battery so it is a good idea to make a remote battery location to connect to this. Remember do not attempt any repair or disrepair of an Oberheim unless you have good assembly skills. This is old equipment and the act of pulling apart these boards could easily cause damage beyond repair. |
 |
Silicon Breakdown has been a source of Music as well as free information and pictures of analog synthesizers since 1999
The Music side of this site contains the sounds of Silicon Breakdown MUSIC HERE About Silicon Breakdown
The Synth side showcases beautiful instruments from the past. ANALOG SYNTHESIZER INFO HERE
send comments to james AT siliconbreakdown.com (replace AT with @)